Author:Don Wright

Valentines Day Storefront Upgrades

Happy Valentines Day from all of the Select-Tech team We're excited to begin installing some database optimizations and visual elements to the fixmyambulance.com store. These changes will be rolling out across our website beginning today, February 14th through end of Feb 16th.   We're improving the shopping experience with a fresh, more...

0
0

#1: Pre-Remount Inspection

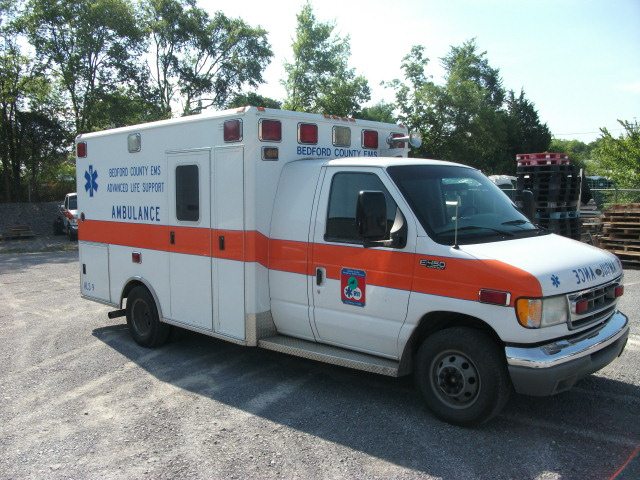
Step #1: Pre-Remount Inspection Before the inspection, all carry-on equipment is removed from the module and a thorough inspection is performed to evaluate any non working components. (Radios, inverters and other mechanical devices will need to be removed before the remounting phase.) During the inspection, we...

0
0

#2: Demounting Module

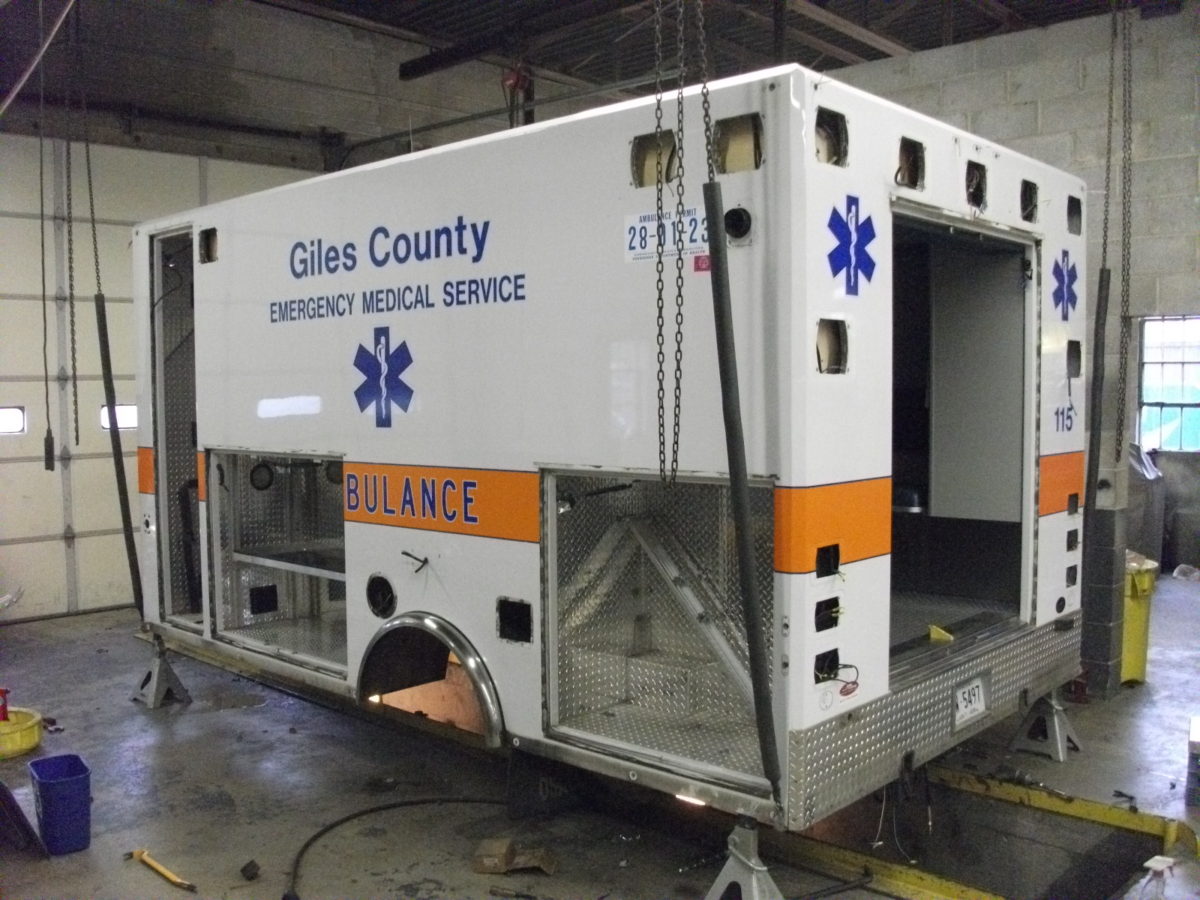
Step #2: Demounting Module We remove the module body from the old chassis using overhead slings, taking special care to not bend, damage or disfigure the structure. Also during this phase … ● All HVAC and electrical harnesses connecting the module to the chassis are disconnected on...

0
0

#3: Electrical Console

Step #3: New Electrical Console While the module is being painted, we prep the new chassis with a new front console and switch panel. This picture shows our standard Type I console (splatter paint finish). The electrical system from the main electrical distribution panel is completely...

0
0

#4: New Chassis Preparation

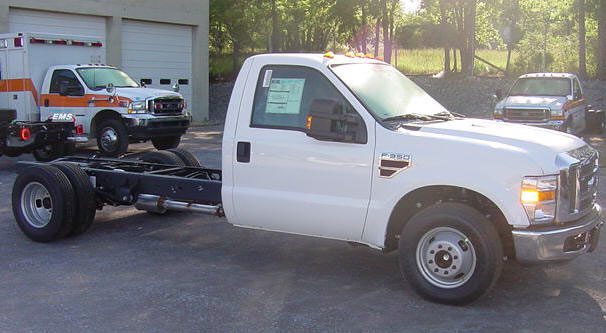
Step #4: New Chassis Preparation Preparing your new chassis involves a number of aspects, including: Mounting "Outriggers" with rubber isolators are installed along the frame of the chassis for mounting the new module. This creates and isolation between the aluminum frame of the module and the steel...

0
0