Ambulance Remounts

Select-Tech specializes in Modular Ambulance Remounts:

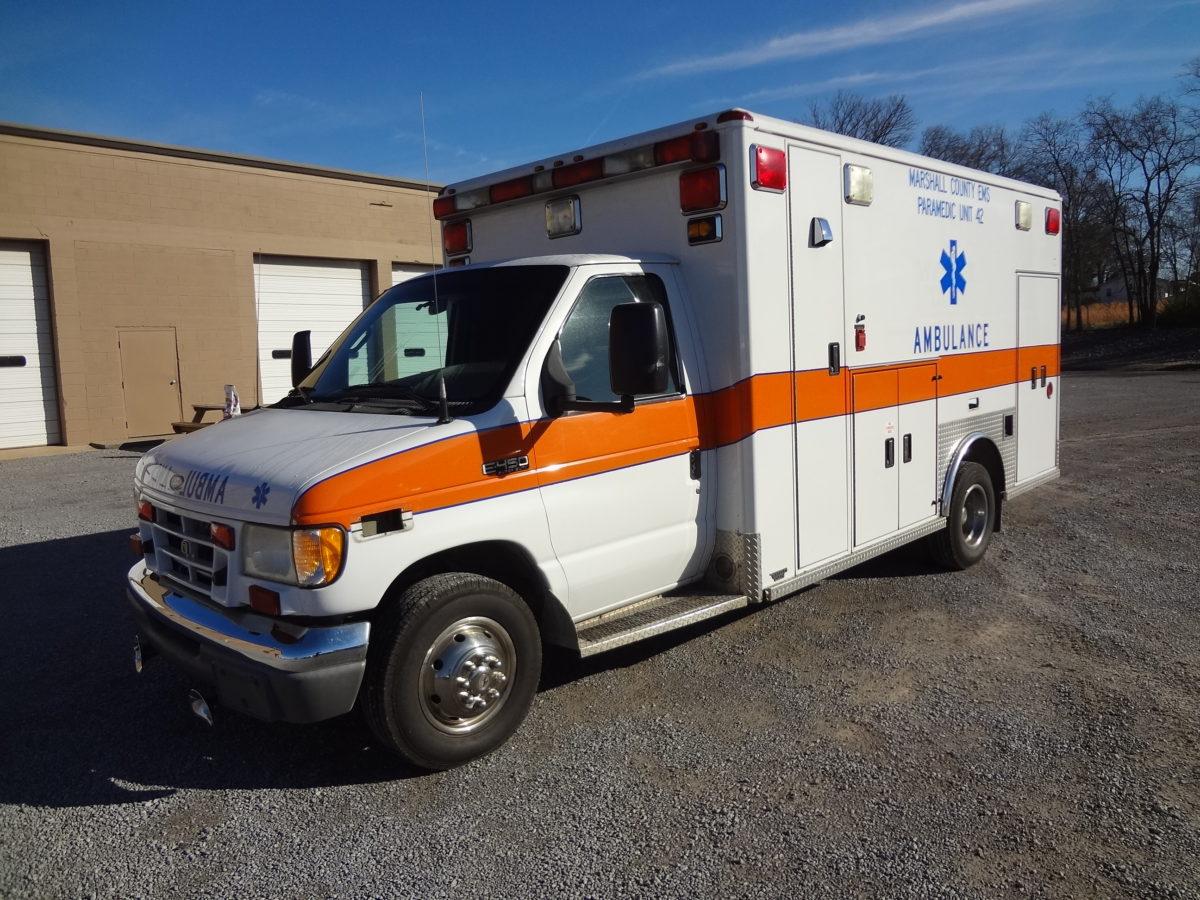
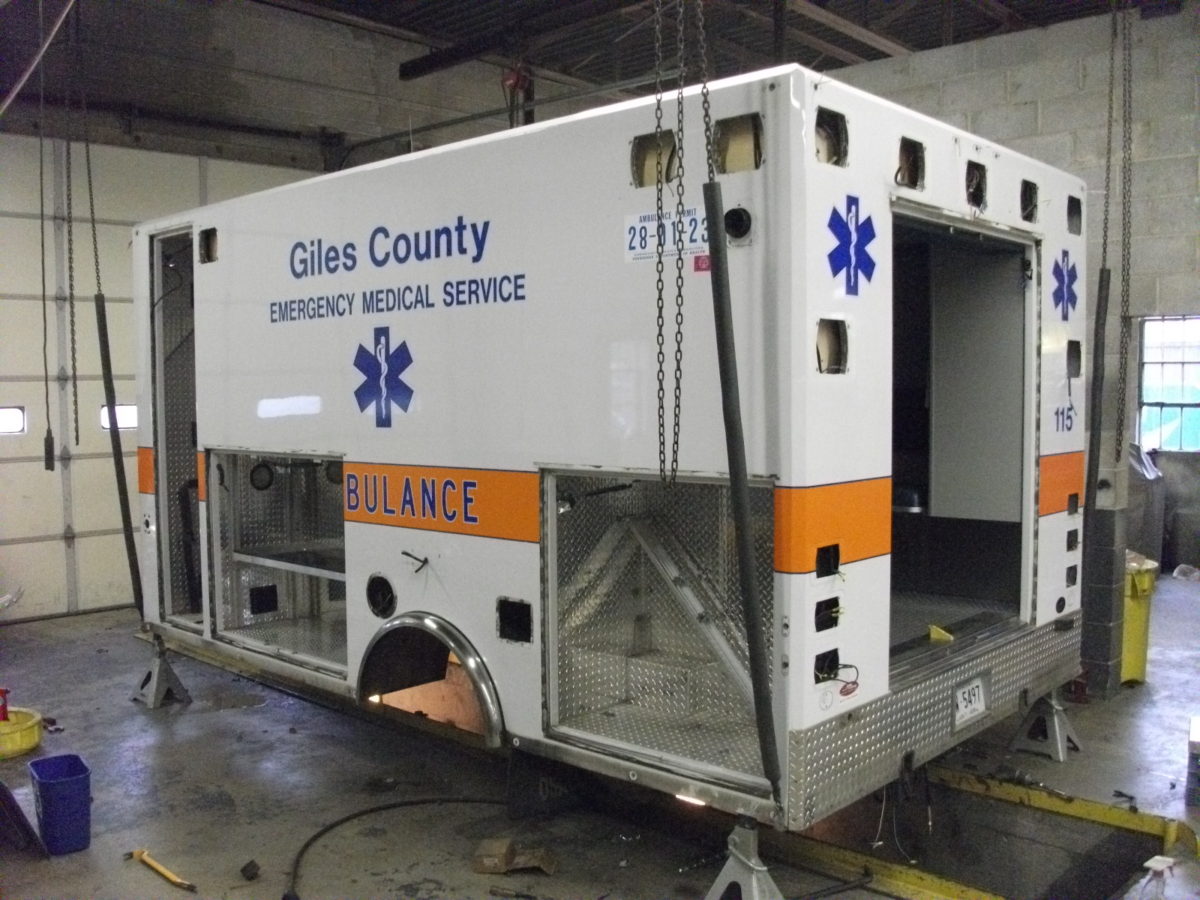
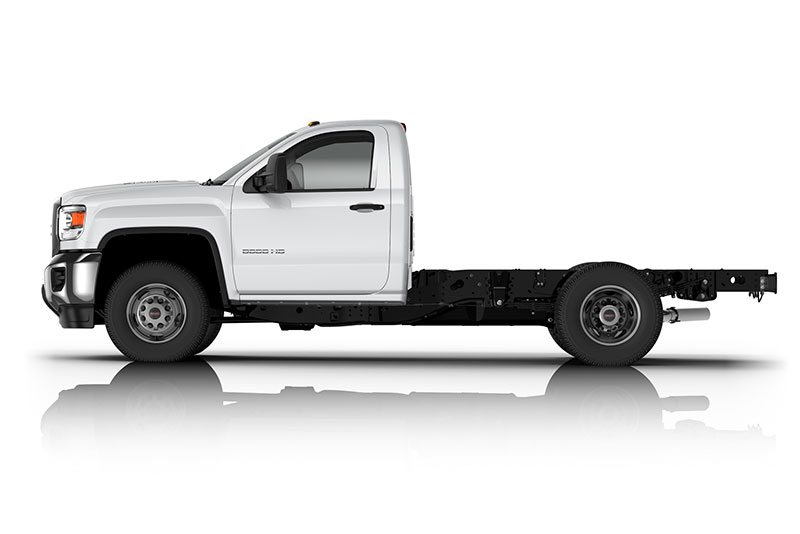
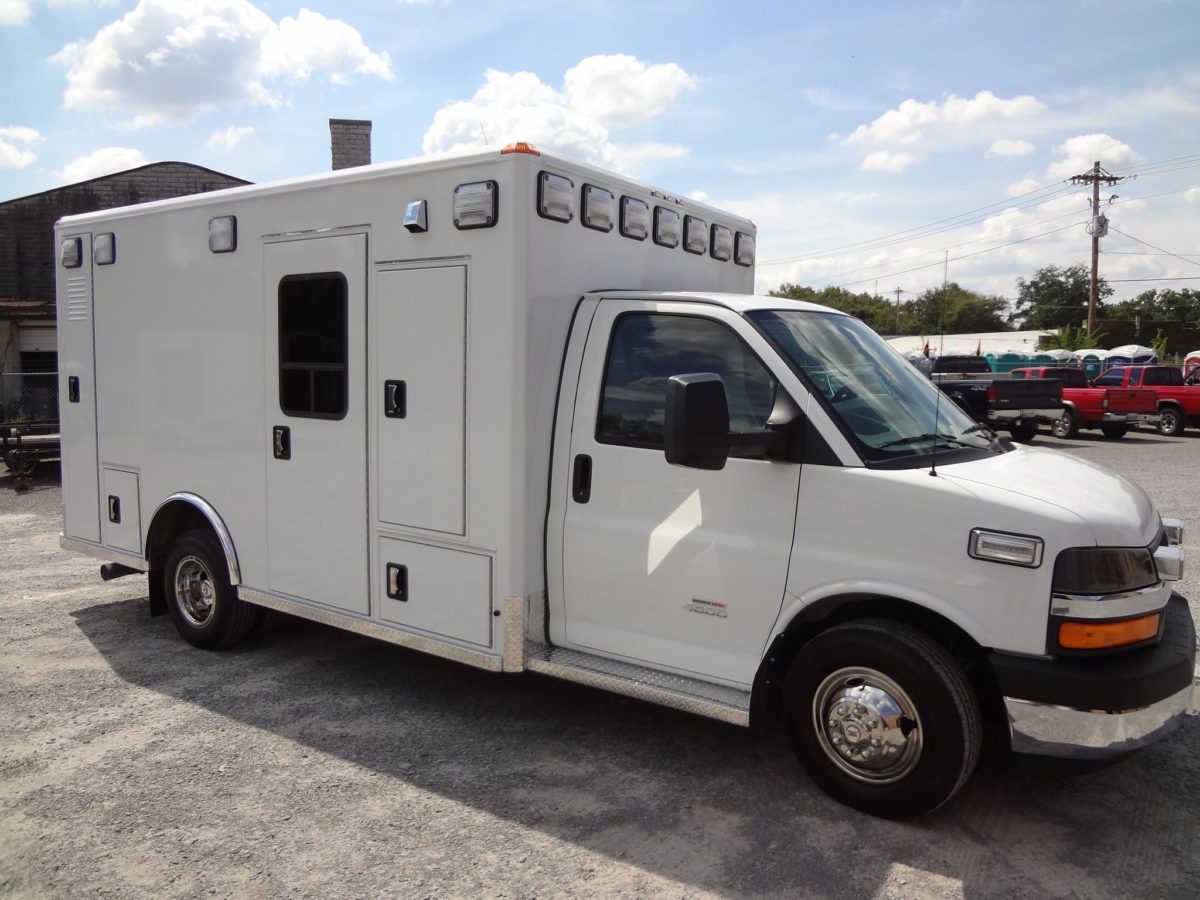
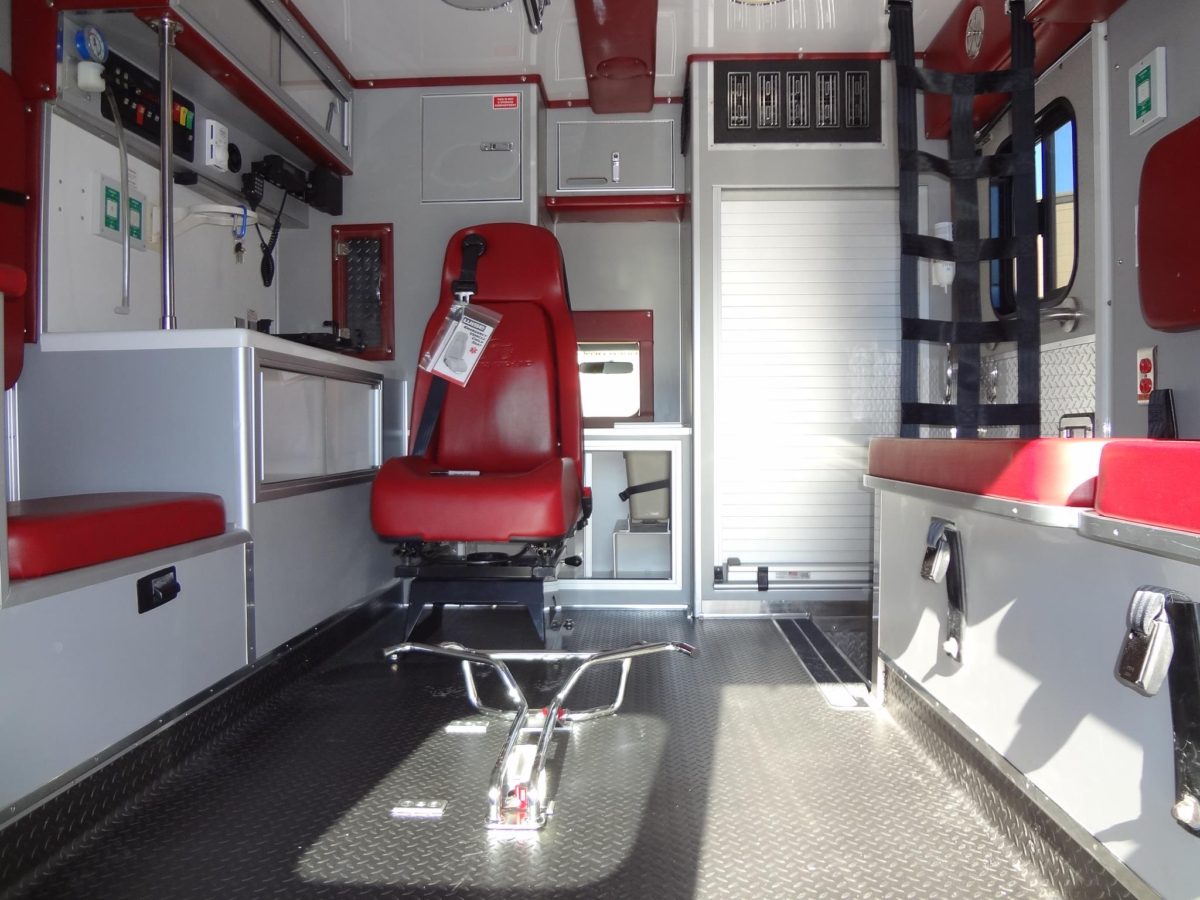
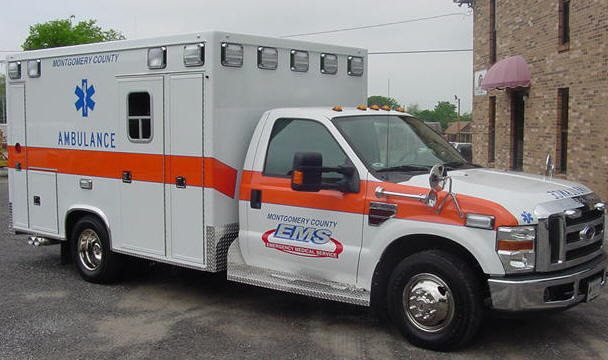
A modular ambulance remount involves a number of steps designed to restore your truck to its original level of mechanical operation and safety. Select-Tech is a completely custom remount facility, each remount is treated individually. The extent of repairs and upgrades is based upon the customer’s requests. The following is a remount based on minimum requirements.

Please email any questions about remounts to steve@selecttechambulances.com or, call 931-684-8964

To view how the process works, click on the slide below that explains each step of the process.

Vertical Smart Slide 1
#1: Pre-Remount Inspection
Posted 154 days ago

Step #1: Pre-Remount Inspection

Before the inspection, you'll need to remove all carry-on equipment from the module and complete an inspection form. (Radios, inverters and other sophisticated mechanical devices will need to be removed before the remounting phase.) During the inspection, we check all electrical system components on the module and the chassis. We will work out a solution with you to resolve any problems with your unit before any work is done - unless you specify otherwise. All items working normally before the remount will be expected to operate afterwards.

#2: Demounting Module
Posted 154 days ago
#2: Demounting Module

Step #2: Demounting Module

We remove the module body from the old chassis using overhead slings, taking special care to not bend, damage or disfigure the structure. Also during this phase …

● All HVAC and electrical harnesses connecting the module to the chassis are disconnected on the chassis side in an environmentally safe manner.
● All wiring harnesses under the hood and into the cab of your old chassis are removed and inspected.
● Fixtures (i.e., isolators, flashers, wigwags, solenoids, etc.) under the hood of the old chassis are removed for future replacement onto the new chassis.
● Light bars, spotlights, siren, console and other items attached to the old chassisare carefully removed for remounting to the new chassis.
● Any module modifications such as warning light changes, removal of lightbars, etc. are performed at this time, before the module is painted.

#3: Electrical Console
Posted 154 days ago
#3: Electrical Console

Step #3: New Electrical Console

Standard Type I console painted with Black/White splatter paint. The electrical system from the module electrical distribution panel is completely revamped. This process includes all new wiring harnesses to the console, plus …

● A floor-mounted console is installed between the cab bucket seats.
The console will have storage and radio mounting areas. Consoles can be "splatter painted" or covered in formica.
● The front part of the console will be angled upward to allow better visibility and easier access to the switch panel. Each console is custom built for your truck, modifications can be made to fit your needs.
● A new LED illuminated switch panel with all new wiring and 25 amp switches will be installed on the console. The battery disconnect switch, code lights and digital volt/ammeter will also be added.

#4: New Chassis Preparation
Posted 154 days ago
#4: New Chassis Preparation

Step #4: New Chassis Preparation

Preparing your new chassis involves a number of aspects, including:

New wiring: The new chassis will receive all new wiring harnesses from the engine compartment to the cab console. Wiring specifications include:

● All wire will be minimum of #14 gauge stranded copper with GXL temperature rating to meet SAE J1128.
● Large #2 gauge or larger stranded copper wire will be used to connect the batteries to disconnect switches and alternators.
● All wiring will conform to SAE standards and be large enough to carry the required amperage for its respective device.
● All wires will be color-coded and/or numbered.
● All wiring connections will be insulated solder-less type.
● All wiring is done in accordance to chassis manufacturer and QVM guidelines.

New battery disconnect switch:
The chassis also will receive a new battery disconnect switch (Cole Hersee M-2484-16 or equal). This switch will be appropriately labeled and mounted into the floor console just to the right of the driver's right leg

Creating a "circuit board" effect:

Flasher motors, wigwag, terminal blocks, solenoids, etc. that are to be remounted onto the new chassis will be located…

#5: Remounting Module
Posted 154 days ago
#5: Remounting Module

The module is remounted onto the new chassis using the same overhead slings as described in Step #2: Demounting. During this phase …

● New seals between the module and chassis frame are installed using materials equal to the original seals. The module will NOT be welded to the chassis frame at any point.
● New high-strength bolts (at least grade no.8 ) are installed in place of the old mounting bolts. Chassis materials and rear bumper hardware are installed at a quality equal to those removed in the demounting process. All fastening bolts are secured at proper torque specifications.
● All fuel filler necks and lines to standard fuel tanks are installed according to current FMVSS regulations and chassis manufacturer guidelines. (This may result in the relocation of some fuel filler necks.)

#6: Equipment Reinstallation
Posted 154 days ago
#6: Equipment Reinstallation

All electrical harnesses, hoses and mechanical devices from the old chassis are reinstalled on the new chassis. This step also includes the following:

● All chassis wiring is to be in conduit or looms and grommets are installed at all locations where wiring goes through metal or comes into contact with any hostile surface.
● A completely new HVAC system is installed with new hoses and AeroQuip fittings utilized to connect the rear HVAC system to the OEM system at its optimum performance locations, per chassis manufacturer guidelines. (*New HVAC system comes standard with all of our remounts, we never reuse any HVAC parts)
● The new HVAC unit is installed at an equal or greater capacity than the existing unit. Prior to charging the air-conditioning system, the air and moisture will be removed from the system using a vacuum pump for a period of 60 minutes. Afterward, the system will remain within one inch of mercury for one hour (in order to reach the highest state of vacuum that can be achieved by the pump). Then the air-conditioner then will be recharged…

#7: Final Inspection
Posted 154 days ago
#7: Final Inspection

After the remounting and re-installation of all accessory equipment, we'll complete a final inspection form for each item tested prior to remount. (All electrical system components on the module and chassis that were operating before the remount will be working during this test.) We complete a minimum, 50-mile road test to ensure all systems are properly functioning. Also, we complete a 40-point remount inspection form to ensure that the unit has been properly inspected and we provide you with an official copy for your records.

#8 Optional Services
Posted 154 days ago

Your remount can involve cosmetic services to restore the interior and exterior appearance of your ambulance. These enhancements may include: - Completely repainting the module with PPG single stage urethane paint system. - Upgrading all lighting to LED. - Install a reflective stripe or graphics. See our Decal Page to see some of the decals & striping we have performed for other customers.

Select-Tech designs and installs all custom decals and striping in-house. - Replacing or repairing any damaged upholstery with matching material or any new color. We have several colors to choose from. - Replacing the floor covering with Lonseal flooring and replace sub-floor as needed. - Changing virtually any cabinet configuration. - Repairing any damaged exterior/interior trim or components as needed. - Replacing all weather-stripping on all compartment and access door openings. - Replacing all door hardware including paddle handles, rotary latches, door rods, etc. - Installing electronic door locks on all compartment and entry doors and integrating into the chassis remote key fob. - Changing your unit from a Type III to a Type I or vice-versa. Below…

Please email any questions about remounts to steve@selecttechambulances.com

or, call 931-684-8964